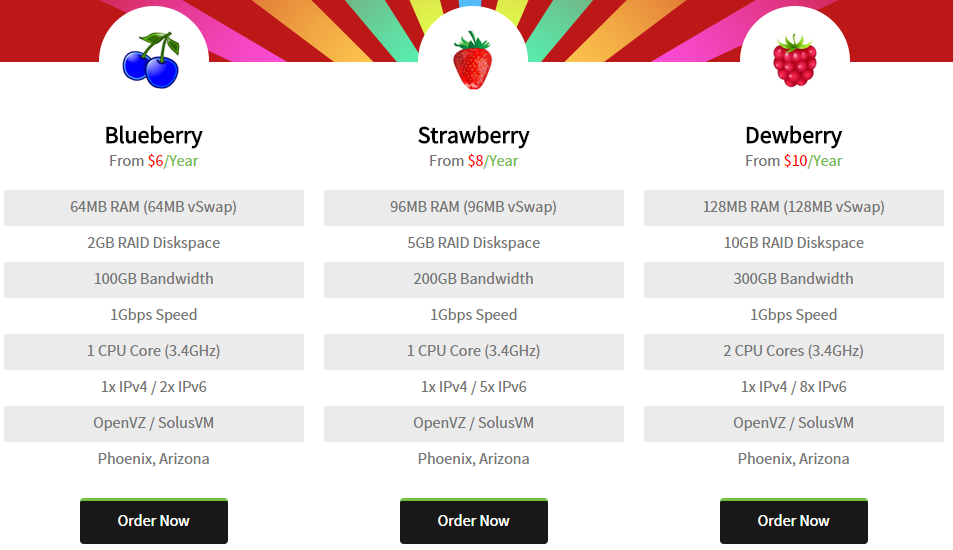
最近算了下手上闲置vps貌似不少,当初买下的berry.pw家的年付6刀的超低配置64M内存2G硬盘100G流量。
完全为了科学上网才买,但现在看看,科学上网的方法是在太多….以至于闲置了。最近折腾了下,通过debian系统
Lighttpd+PHP+SQLite环境架设typecho的blog网站。
一、检查系统更新以及更新已安装软件
检查更新
apt-get update
更新已安装程序
apt-get upgrade
二、安装Lighttpd、SQLite、PHP
安装lighttpd
apt-get install lighttpd
安装SQLite数据库
apt-get install sqlite
安装php以及各类组件
apt-get install php5-cgi php5-curl php5-gd php5-idn php-pear php5-imagick php5-imap php5-mcrypt php5-mhash php5-ming php5-ps php5-pspell php5-recode php5-snmp php5-sqlite php5-tidy php5-xmlrpc php5-xsl
三、配置php与lighttpd
配置php.ini文件
nano /etc/php5/cgi/php.ini
cgi.fix_pathinfo 去掉前面的#修改为cgi.fix_pathinfo = 1
memory_limit = 128M修改为memory_limit = 16M 降低php的内存占用(对于typecho这样的轻博客程序16M内存占用还是够的)
配置/etc/lighttpd/lighttpd.conf文件,直接替换即可。
server.modules = (
"mod_access",
"mod_alias",
"mod_compress",
"mod_redirect",
"mod_rewrite",
"mod_fastcgi",
)
server.document-root = "/var/www"    #网站存放目录,没有可以新建,也可替换其他目录。
server.upload-dirs = ( "/var/cache/lighttpd/uploads" )
server.errorlog = "/var/log/lighttpd/error.log"
server.pid-file = "/var/run/lighttpd.pid"
server.username = "www-data"          #lightpd所属用户。
server.groupname = "www-data"         #lightpd所属用户群组。
index-file.names = ( "index.php", "index.html",
"index.htm", "default.htm",
" index.lighttpd.html" )
url.access-deny = ( "~", ".inc" )
static-file.exclude-extensions = ( ".php", ".pl", ".fcgi" )
include_shell "/usr/share/lighttpd/use-ipv6.pl"
dir-listing.encoding = "utf-8"
server.dir-listing = "enable"
compress.cache-dir = "/var/cache/lighttpd/compress/"
compress.filetype = ( "application/x-javascript", "text/css", "text/html", "text/plain" )
include_shell "/usr/share/lighttpd/create-mime.assign.pl"
include_shell "/usr/share/lighttpd/include-conf-enabled.pl"
fastcgi.server = ( ".php" => ((
"bin-path" => "/usr/bin/php5-cgi",
"socket" => "/tmp/php.socket",
"max-procs" => 1,
"bin-environment" => (
"PHP_FCGI_CHILDREN" => "4",          #设置php-cgi进程的数量,减小以减少内存占用
"PHP_FCGI_MAX_REQUESTS" => "500"     #设置php-cgi进程的请求数,减小以减少内存占用
),
)))
四、重启lighttpd设置网站目录权限
/etc/init.d/lighttpd restart
这时候输入你vps的IP或者解析好的域名即可
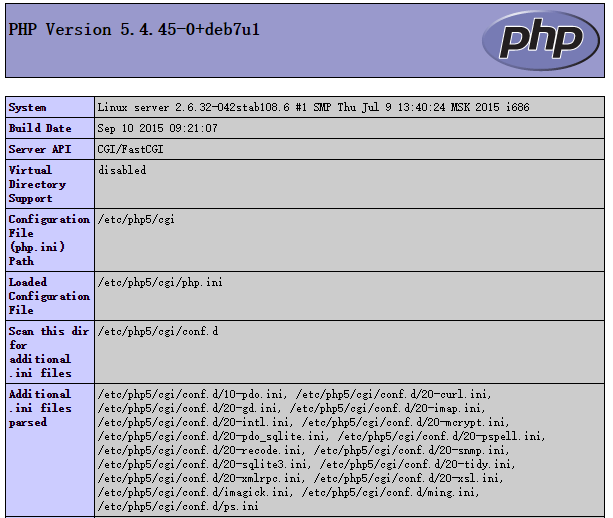
测试php 在/var/www目录新建一个php文件php.php
nano /var/www/php.php
php.php内容
<?php
phpinfo();
?>
ctrl+ 字母0 ==> 回车保存内容 ctrl+X 退出编辑
浏览器中输入http://你的VPS的ip/php.php显示如同下图表明PHP安装正常
设置网站目录/var/www权限,(上传新的网站程序都需要执行一遍,否则程序没有写入权限)
chown -R www-data /var/www
另外berry.pw还提供另外两款低年付方案,详情参考berry.pw主页
未经允许不得转载:爱折腾 » 64M小内存VPS利用Lighttpd+PHP+SQLite架设BLOG
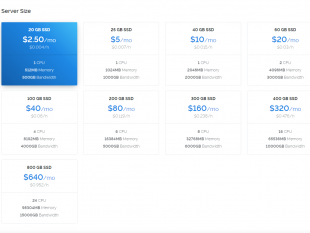 Vultr-2.5美元每月KVM架构512M内存/20gSSD/500G流量多几房可选